Step 1.
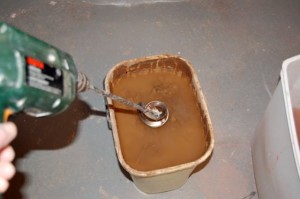
Toss all your scrap clay and clay water/slurry into a large bucket. Collect until the bucket is 75% full.
The bucket of scrap clay just before mixing. Into the bucket goes all scraps, the slurry water from the splash pan around the wheel head and the water from my little bucket I use when at the potter’s wheel. Nothing goes down the drain. Note the clumps of clay just under the water line.
Step 2.
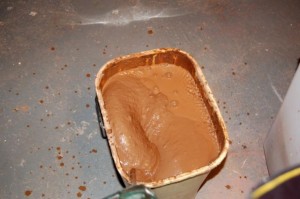
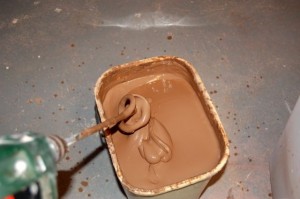
Use a paint stirrer on the end of a drill to mix the clay. Go slowly to start so you avoid splashing liquid clay everywhere.
It’s a little messy, but I can’t imagine throwing out clay that can this easily be recycled. I recycle about 200 lbs of clay each year!
Mix until smooth, like cake batter. Mmmmmm…cake batter…
Step 3.
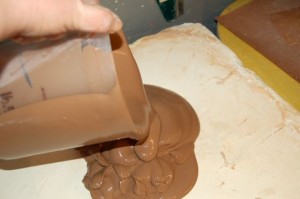
Now it is ready to pour onto your plaster slab for drying.
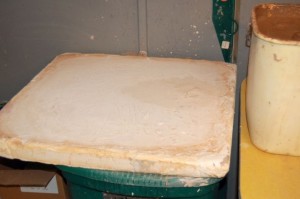
This is the plaster slab I use for drying the clay. The clay is not completely dried, however. The plaster draws the moisture out of clay. I remove the clay from the plaster when it’s a good consistency for wedging (kneading), cut it into smaller pieces and bag it and date it. I use the clay when it has “aged” a year or more.
Making a plaster slab isn’t too tricky or labour intensive and I will blog about it one day when I make a new one, as mine is wearing down and slowly disintegrating after being in use for about 7 years now. The trick is to buy FRESH plaster and use the plaster right away. Plaster takes on moisture from the air and if you have old stuff it probably isn’t workable. I had a bag of plaster that I bought and then stored for two years. When I decided to use it, it was as hard as a rock and I had to throw it out.
I use a jug or a ladel to scoop the clay out of the bucket and onto the plaster slab because I can’t lift the whole bucket to pour it out. No need to hurt myself, is there?
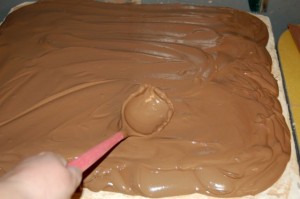
I smooth out the clay and make it a consistent thickness on the plaster slab. It takes about a week or so to firm up so I can remove it from the plaster. Each batch of recycled clay weighs about 40-50 pounds after the water has leeched out. Ka-ching!! That means I save about $30 or more each time I recycle a bucket of clay.

“Tutorial – How to recycle clay in 3 easy steps | The Life of a Potter” was a remarkable post and thus I was truly glad
to read the blog. Thanks,Josefa
You are very welcome!
Hello, I am new to both blogs and pottery. I stumbled upon your blog while searching for instructions on how to build a plaster slab and saw on one of your older blogs that you were planning on making one and blogging about it. Would you mind telling me if you did in fact blog on the subject? I tried looking around to see if I could find it on my own, but wasnt able to find anything of the sort. Thank You for the wonderful information on reclaiming clay though.
Your new reader,
Deborah Brusseau
Hi Deborah,
I haven’t made a new plaster slab yet, but am planning on doing so when it’s not so humid. Apparently trying to get plaster to set when it’s humid out is impossible, so I’m waiting for drier days. I’ll probably get around to making a new slab in late August or early September.
I’m glad you found my info on reclaimed clay helpful.
Stay tuned for the plaster blog coming in a month or so. Thanks for reading!
Pingback: This is How I Roll at The Life of a Potter