Thursday, November 3rd
I slept in until 7:30 a.m., but can I really call it “sleeping in” when I went to bed at 11:30 p.m. the night before? I let the cat out. Hunting is best at first light.
I ate breakfast in front of the computer as usual and checked my website for things that needed updating. My Annual Fall Sale is slated for Nov. 5 & 6. I feel exhausted. I spent a lot of time in front of the computer in my pj’s and now it is nearly 11 a.m.
Okay, I’ve changed into my work clothes and loaded the dishwasher and checked the small kiln full of freshly fired bisque ware. Still too hot to open. I look around my studio and decide in what order I will complete today’s tasks.
11:30 – Review website updates with webmaster.
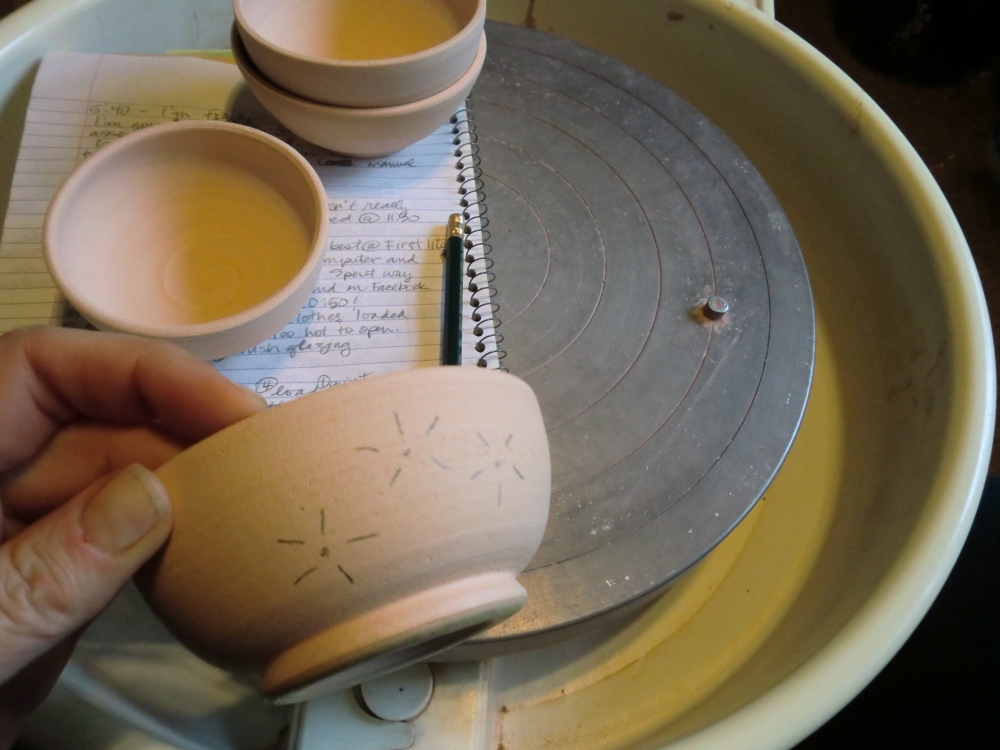
11:40 – In the studio. I need to paint wax resist designs on bisque ware…first I need guidelines. This is what I call “Daisyware.”
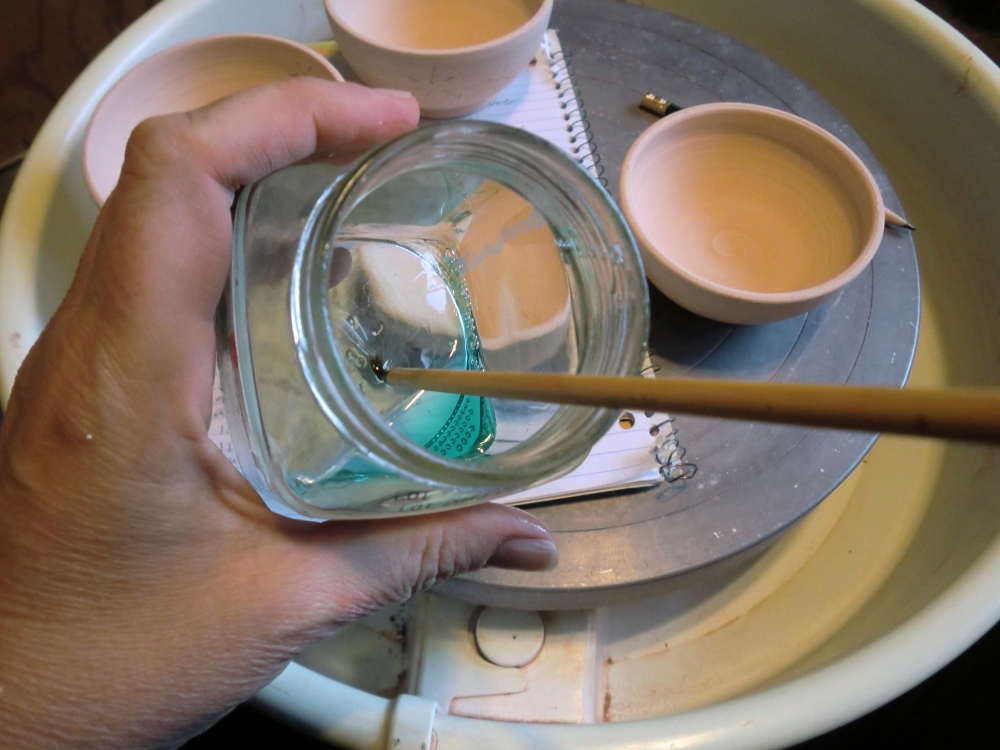
Then I coat my paintbrush with soap to protect the bristles against the gooey liquid wax, which then washes out nicely with hot water and more soap when I’m done applying wax.
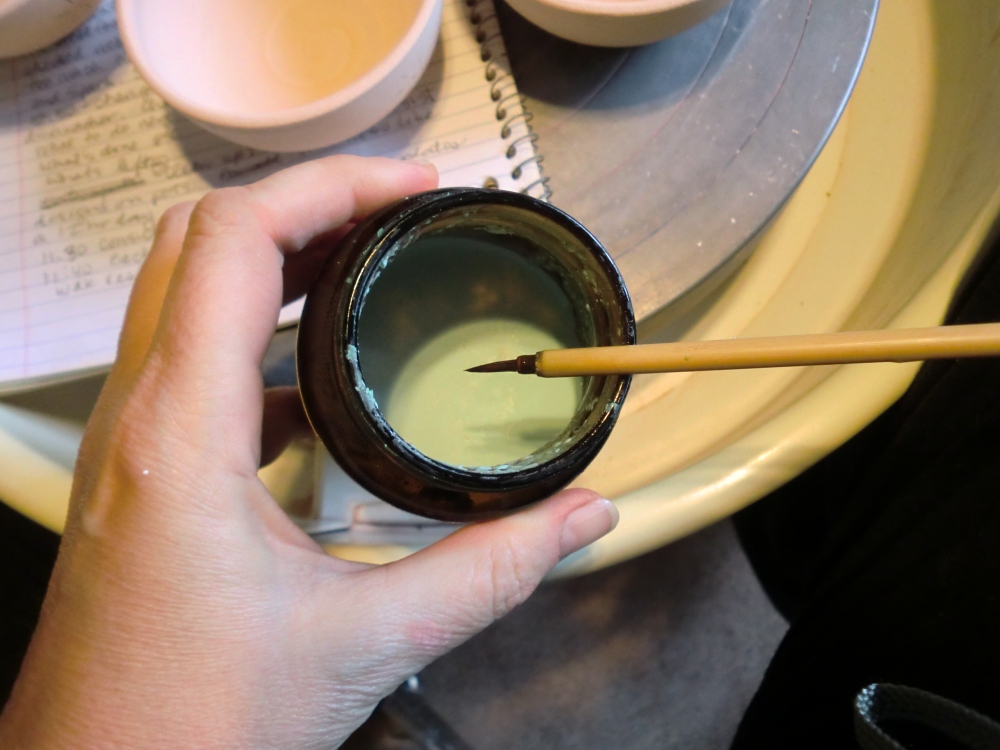
I dip my paintbrush in the mint green liquid wax…
And then most times I follow the guidelines. 😉
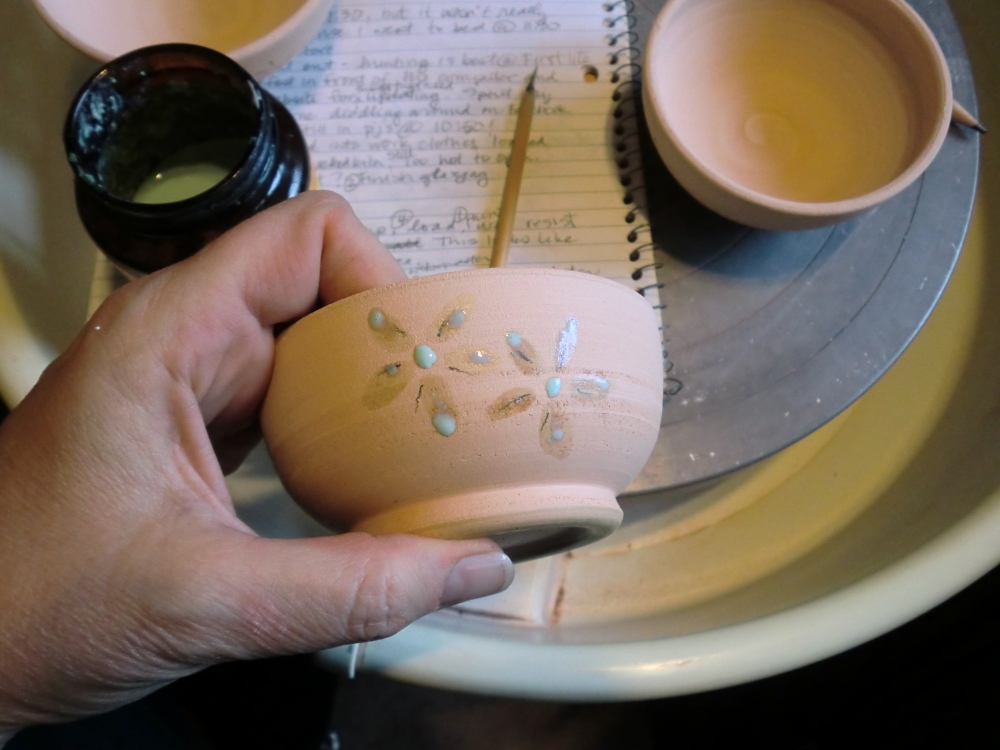
Painted with liquid wax so the pot doesn't soak up the glaze. The result is a toasty orange flower against a background of electric blue, the most popular glaze for my Daisyware, featured right at the top of this page!
Wax takes a good two hours to dry. You don’t want to dunk a wet waxed pot into a bucket of glaze because the wax could contaminate the glaze and then be doing some weird things to future pots.
It’s 12:17. I’m really hungry! I check Little Blue. 600 degrees F. Still too hot to open. I’ve completed painting on all the wax designs so I’m going to stop for lunch. Mmmm…egg, toast, freggies.
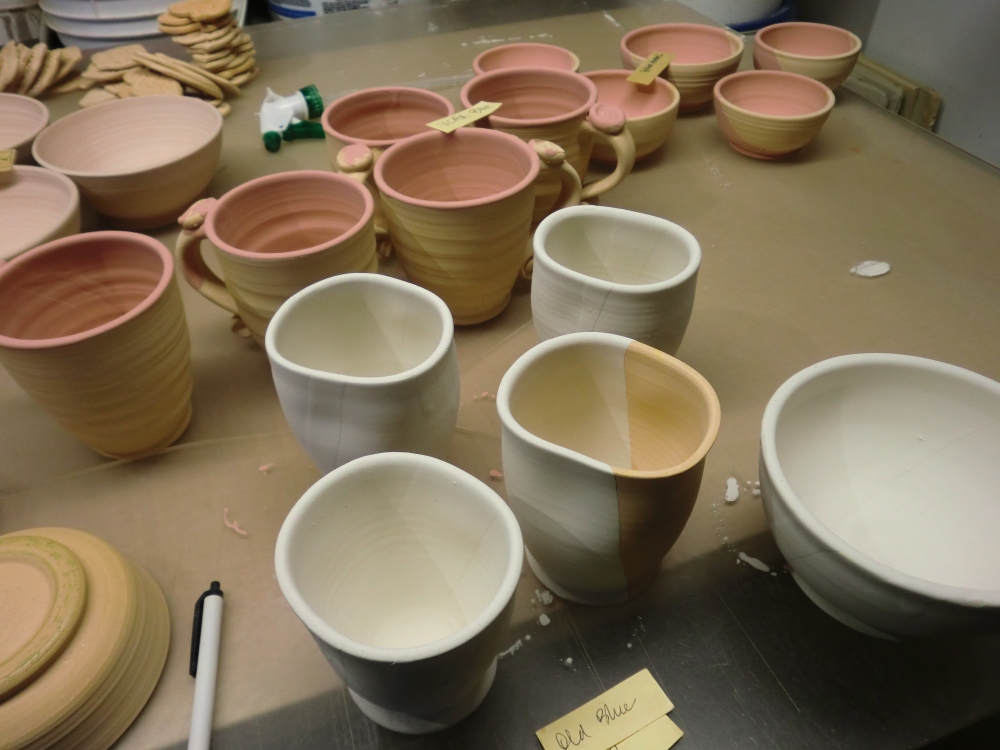
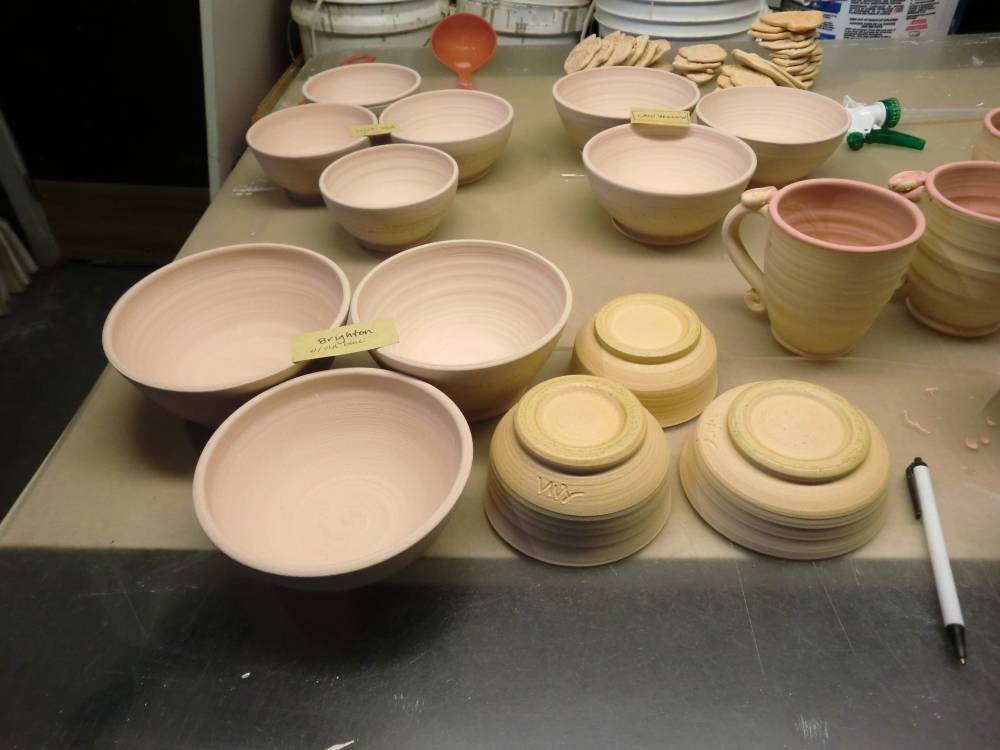
1:00 p.m. I begin the next task. Glazing. I’d glazed some stoneware pots the night before and need to finish that. Long ago I learned to label my glazed pots so I know what colours I’ve used. Two reasons: 1.) Glazed pots can often look similar in colour to each other; for example, the white glaze and the blue glaze are very hard to tell apart from each other when dried on the pots. If I start a job the night before and don’t label it how can I be sure if I’ve glazed it blue, white, iron red or iron yellow? They all look too similar to tell for sure. 2.) I need to know the colour so I know where to load it in the kiln for best results. Some glazes fire better in cool spots and some fire better in hot spots. When you are working a long glaze day you can get pretty tired and goofy by the end of it and that is when you are loading the kiln. You need to know what you are loading and where you’re going to load it.
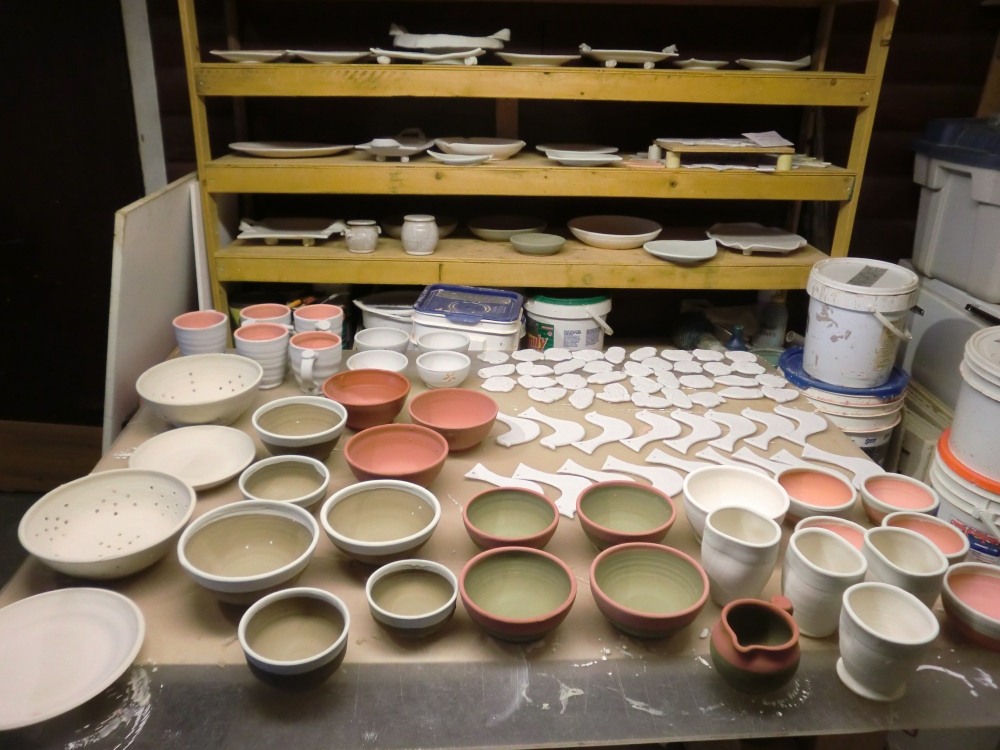
By 4:00 p.m. I have glazed 52 Christmas decorations, 25 bowls of varied size, 1 vase, 10 vessels for drinking, 4 plates, 1 creamer and sugar bowl set, and 3 microwave lids. I have other glazed pieces on the shelving from a previous glaze day. Several of these pieces have more than one glaze that has been applied and of course some have wax resist designs on them.
4:15 – I’m done for the day. I have choir practise tonight at 7:00 p.m. so I must get cleaned up and make dinner. It’s too bad I couldn’t get the pots cleaned and loaded into the kiln tonight.
5:00 – Doh! Moment. Wait a minute! I have to get the kiln going tonight! If I don’t I won’t be able to unload the pots in time for the opening of my sale!
Plan B because Plan A never works anyway.
Go to choir because we always learn new songs and I don’t want to fall behind. Leave at the break at 8:30. Come home and clean the pots, load the kiln and start candling* (*warming the kiln to 200 degrees F and holding it there for about 2 – 4 hours to completely dry the glaze on the pots).
9:10 – home from choir. Break was scheduled a little later than usual and then there’s the drive home – about 20- 25 minutes. It was a productive practise. I’m happy I went. It crossed my mind to cancel altogether, but I felt the need to get out of the house.
9:30 – I’m in my work clothes. My partner and the cat have been greeted, kissed and petted. I have a bucket of hot water and I’m ready to clean foot rings.
Before…

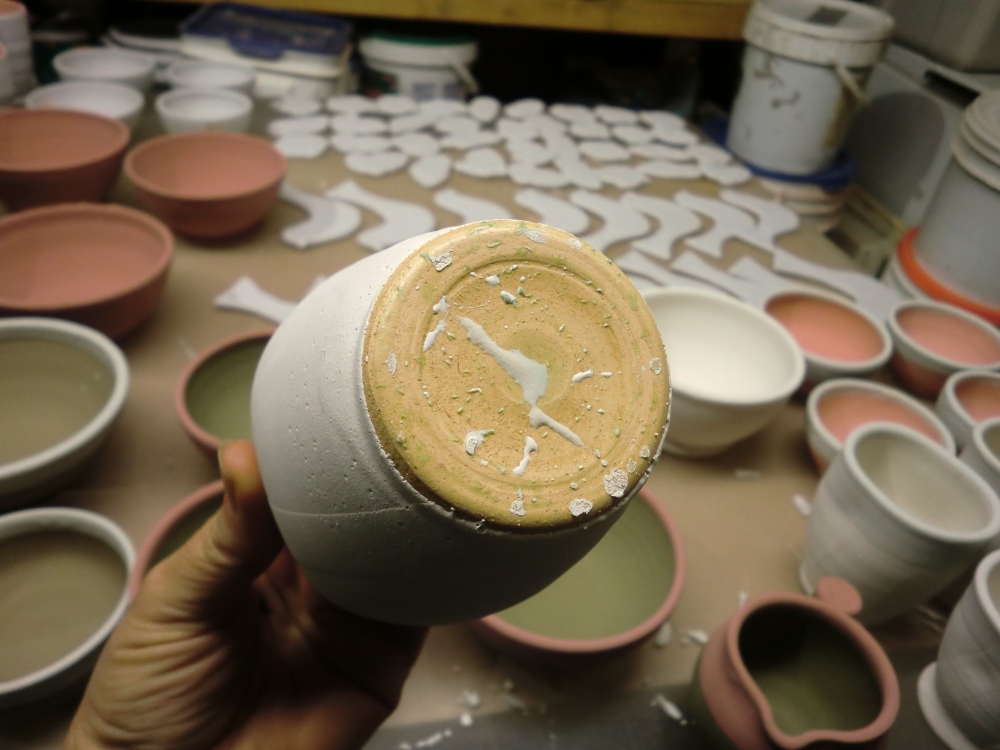
Voila! All that is left is dried blue/green wax that burns off in the kiln. If you don't clean the glaze off the bottom the piece will fuse to the kiln shelf when fired. No, that doesn't sound good does it? It's not.
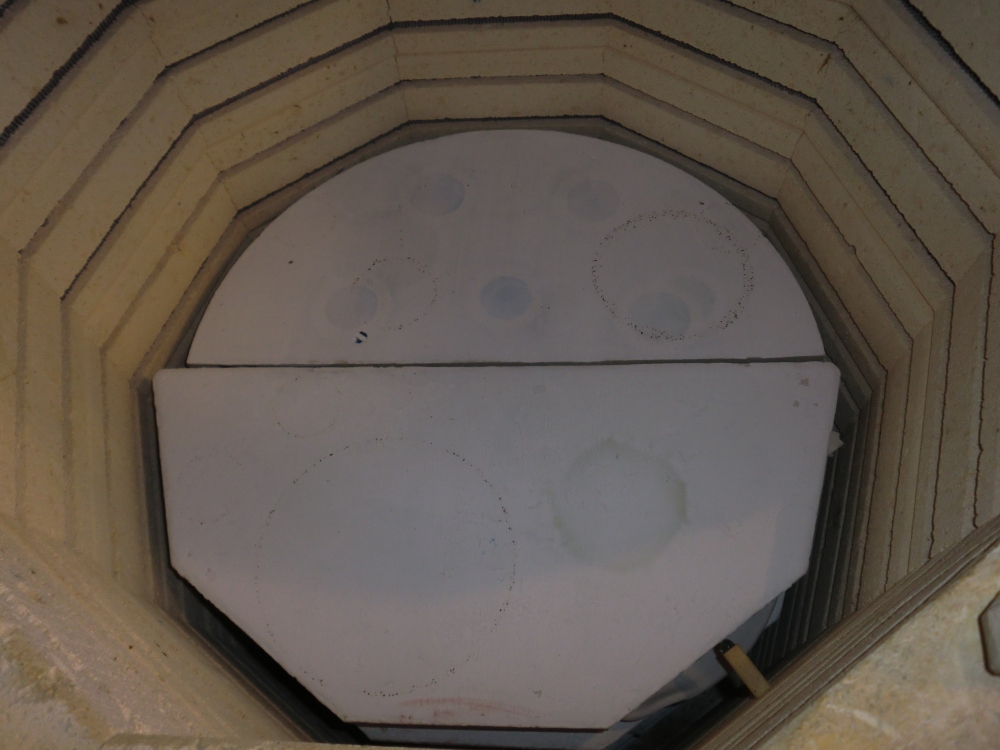
Ever wonder how a kiln is loaded? Well, first of all it’s just one big open space and you build as you go, starting at the bottom with a shelf of glazed ware. In this photo, there is already some pots loaded into the kiln because I was tired and forgot to take a picture before loading.
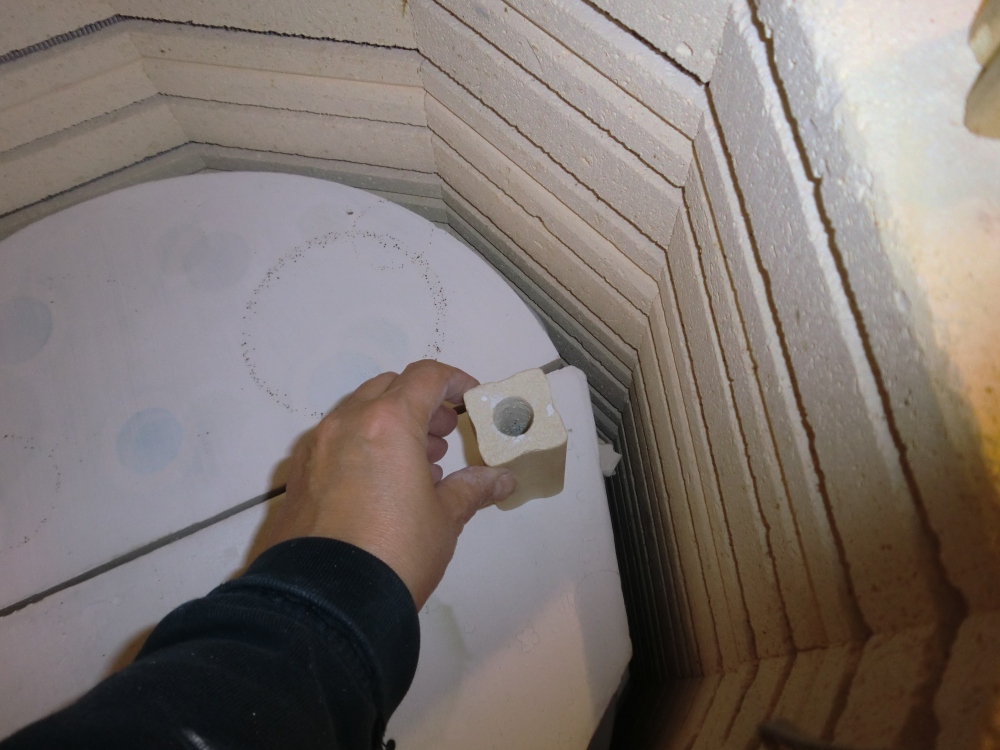
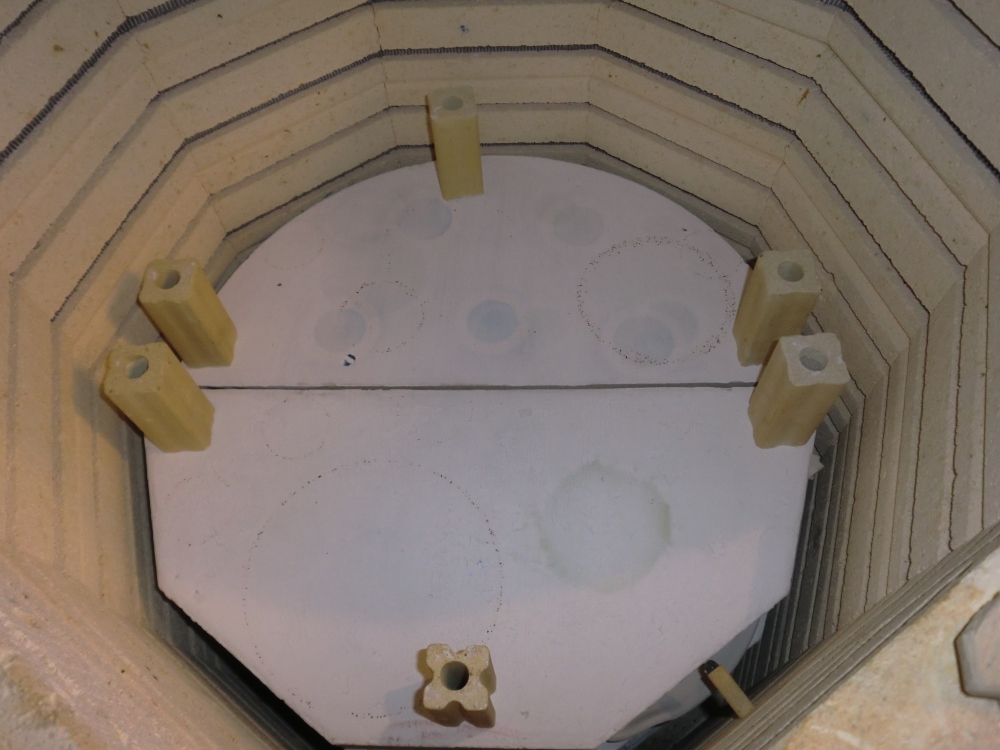
I place stilts of my desired height on the shelves, 3 on each side…
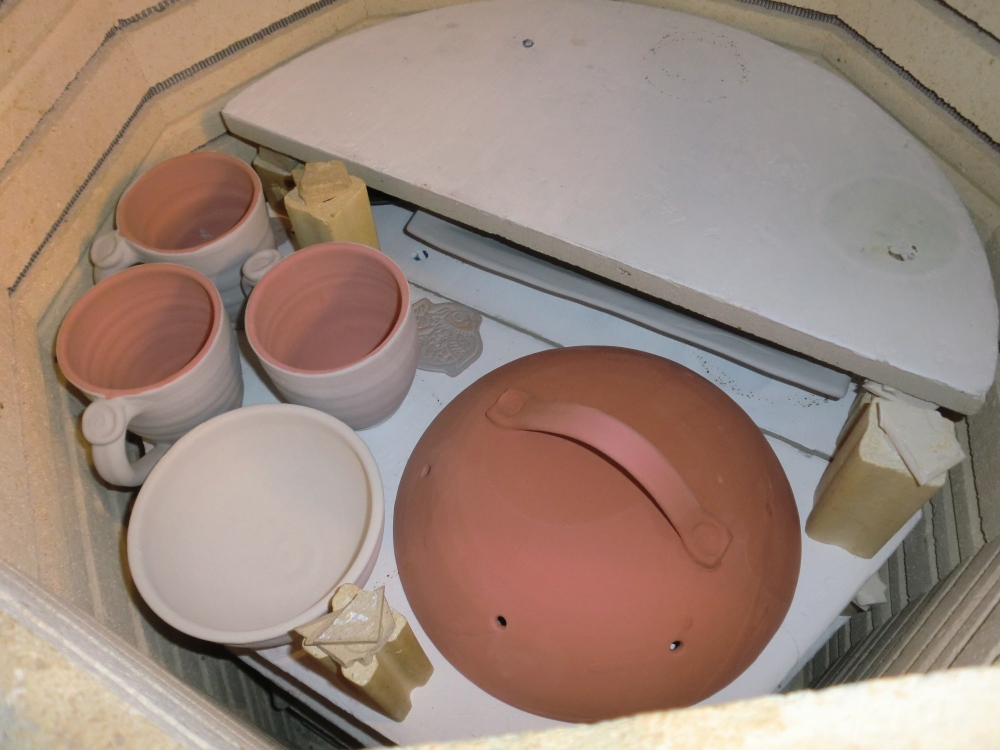
Almost at the top. From L to R, "The Nicole" mugs, wee Xmas decoration, cafe au lait bowl, microwave lid.
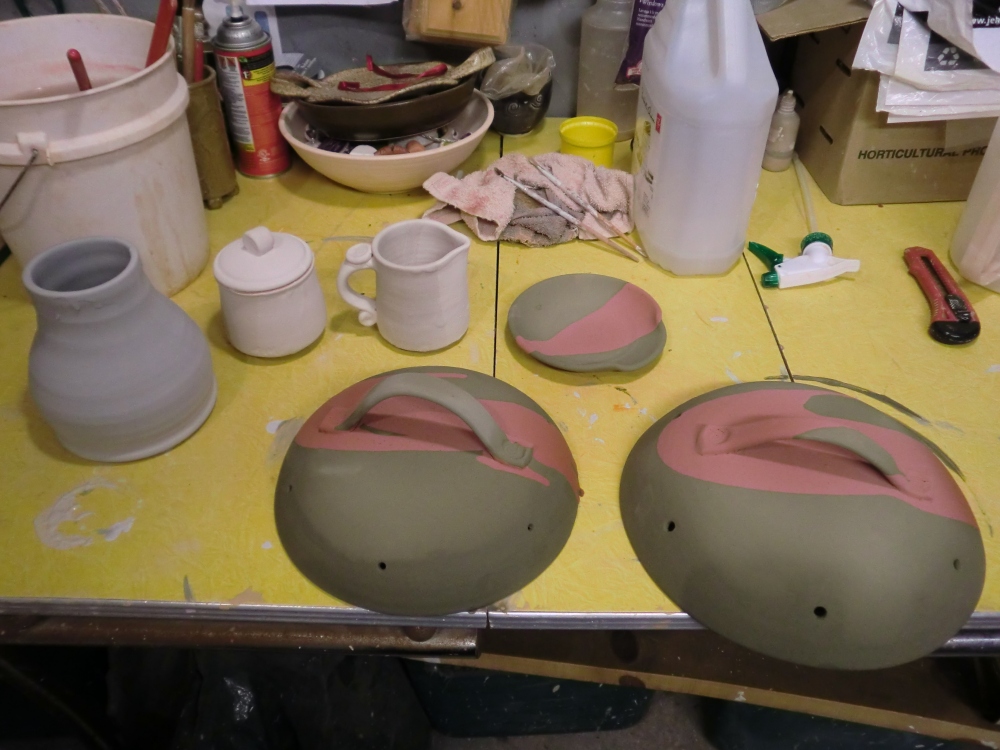
Yeah…microwave lids! We used to use those plastic domes that cost about $1, then one day scientists discovered that plastic + microwaves seemed to = EYOO, so I thought to myself, why not make a lid outta clay? I’ve been using mine successfully in my microwave for over two years and have just started making them to sell.
It’s 11:55 p.m. and I’m done loading the kiln. It’s candling now and I’m going to check it for moisture in an hour.
Friday, Nov. 4
1:00 a.m. – It’s very wet in the kiln. I use a mirror to test for moisture and it was a very steamy little mirror. I’m going to bed and will have to set my alarm so I can get up and check it again.
3:30 a.m. – My alarm just went off. The glazed ware has dried. I shut the lid of the kiln and start firing. Thank goodness this kiln is computer controlled and I can go back to bed for a few more hours.

Wow! Thanks for sharing…. Love seeing your pottery.
I have a neighbour that has his own kiln… this winter he pulled his kiln apart last winter, it was interesting as he showed my son all the steps to rebuild his kiln…
It’s quite a job, being a potter! You are an artist, chemist, labourer, technician, sometimes a teacher, and a pyromaniac! We love fire!!