Last week I decided to make some squishy cups. I call them squishy cups because just after I make them I SQUISH them…but not too hard!
First just let me tell you how difficult it is to take pictures while I’m working. Taking photos with one hand is definitely challenging. Keeping the camera clean from wet clay is even more challenging!
A series of pictures showing you how it’s done:
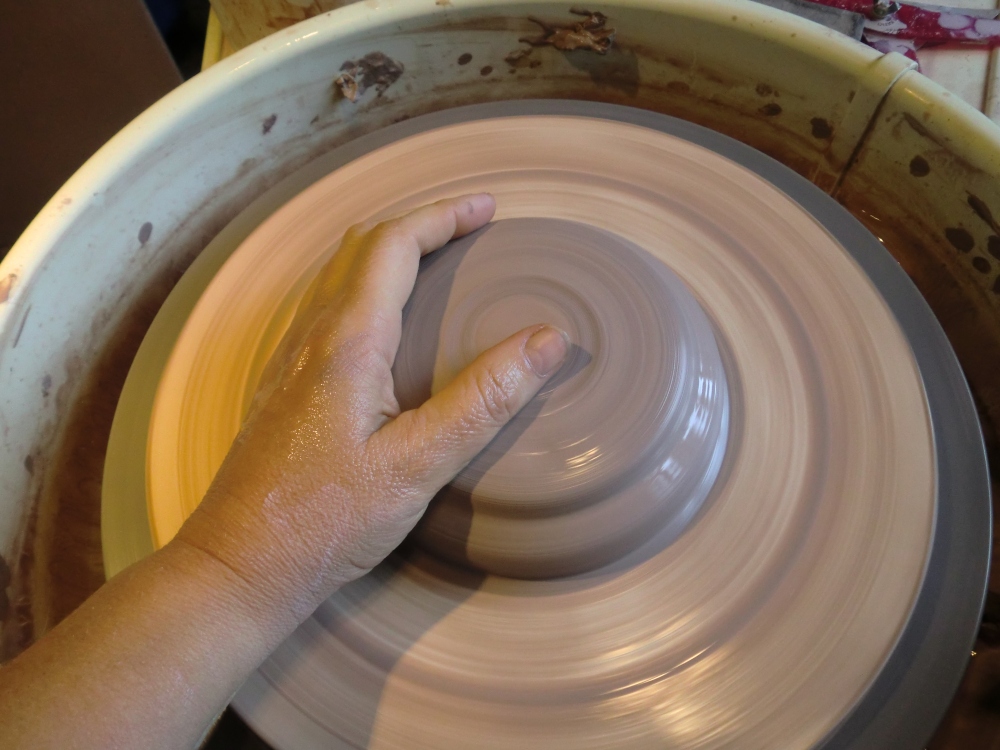
First I centre a big lump of clay so I can throw off the hump (mound) because squishy cups are small and I don’t want to wedge dozens of very small pieces of clay – one for each cup.
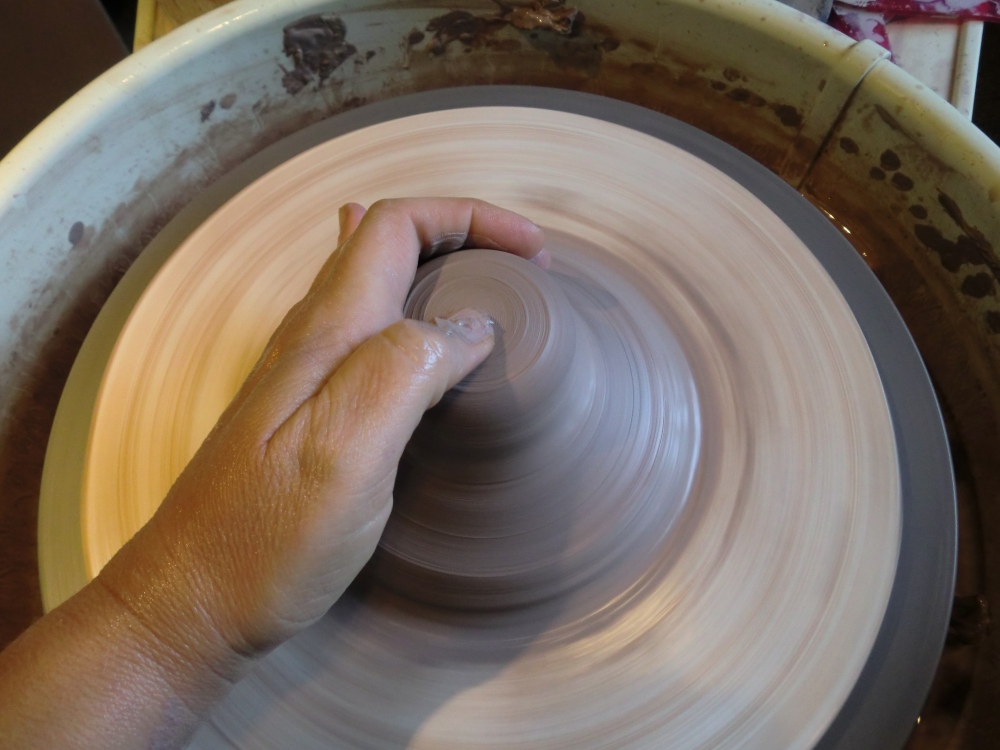
Then I bring up a small piece – just enough for one cup and my thumb finds the centre so I can open the clay.
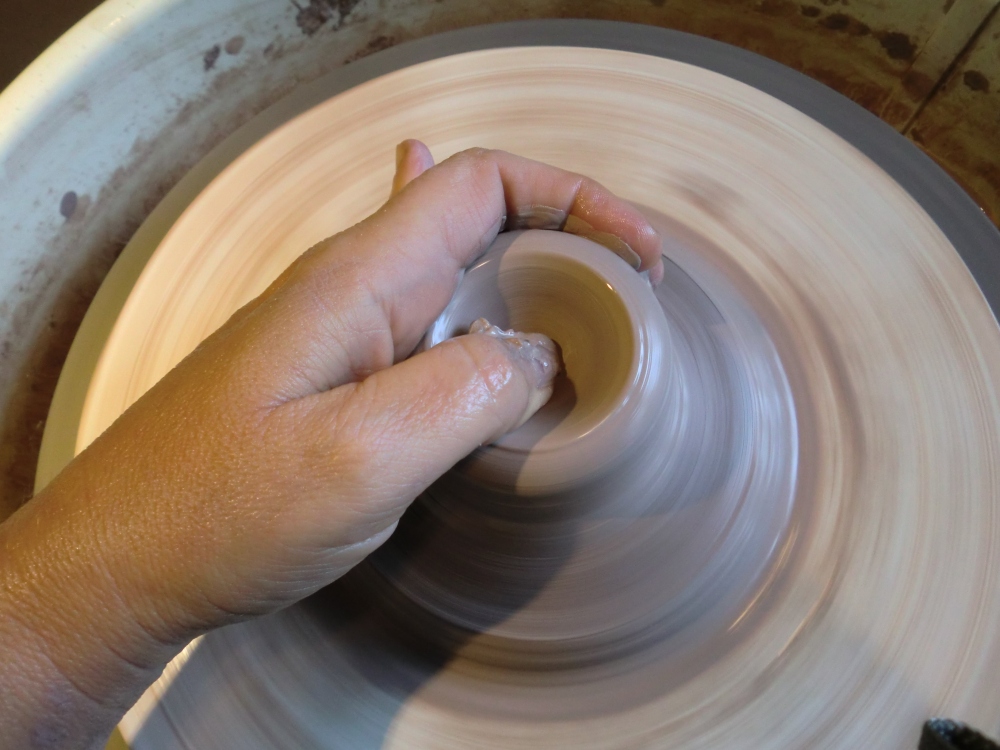
Then I make the opening.
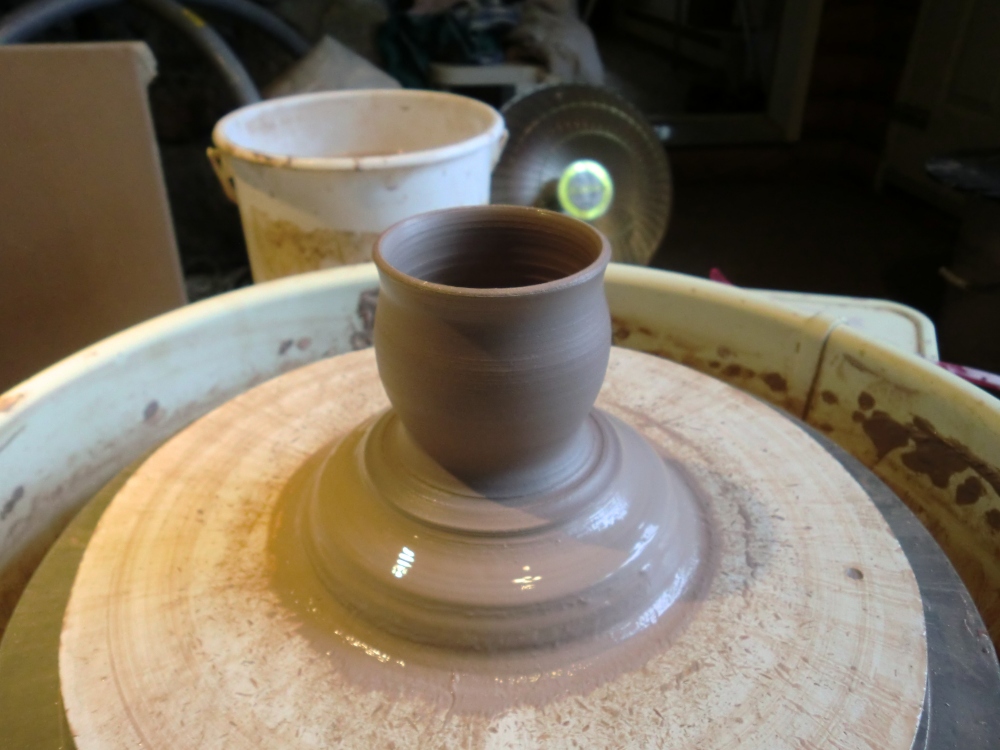
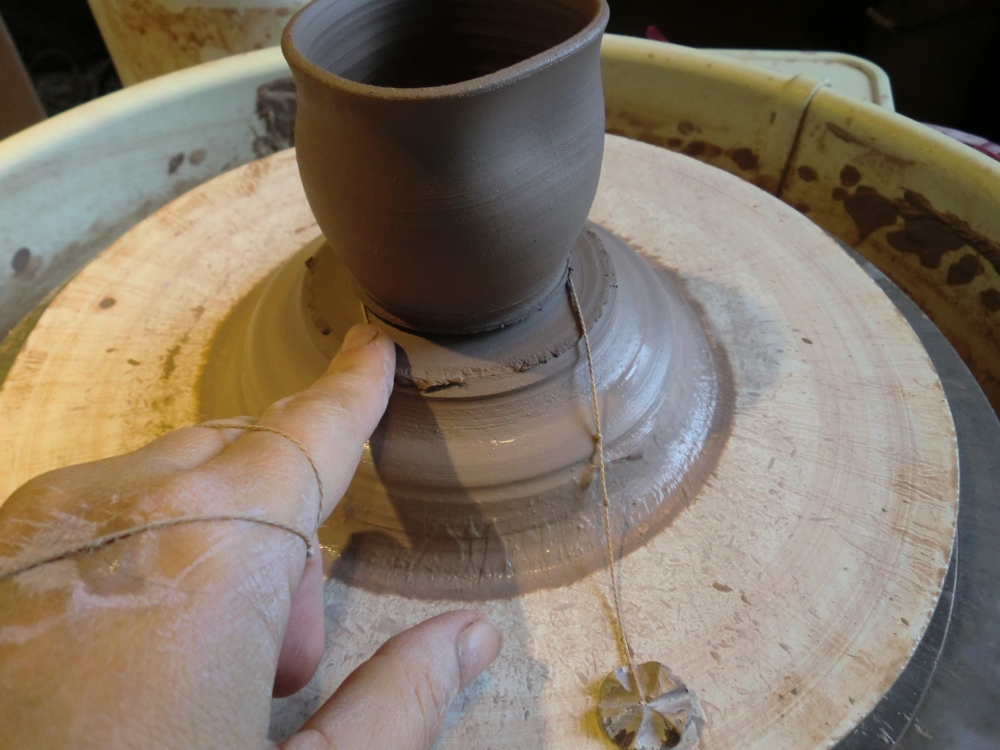
All of this is done with two hands on the clay at all times…except when I’m trying to take a picture to illustrate how it works. I like this particular vantage point because you are seeing it as if YOU were at the wheel!
Why two hands? Two hands on the clay gives you more stability. I usually use one hand as if my fingers were a tool and the other hand to guide or give pressure to the “tool” hand to move the clay.
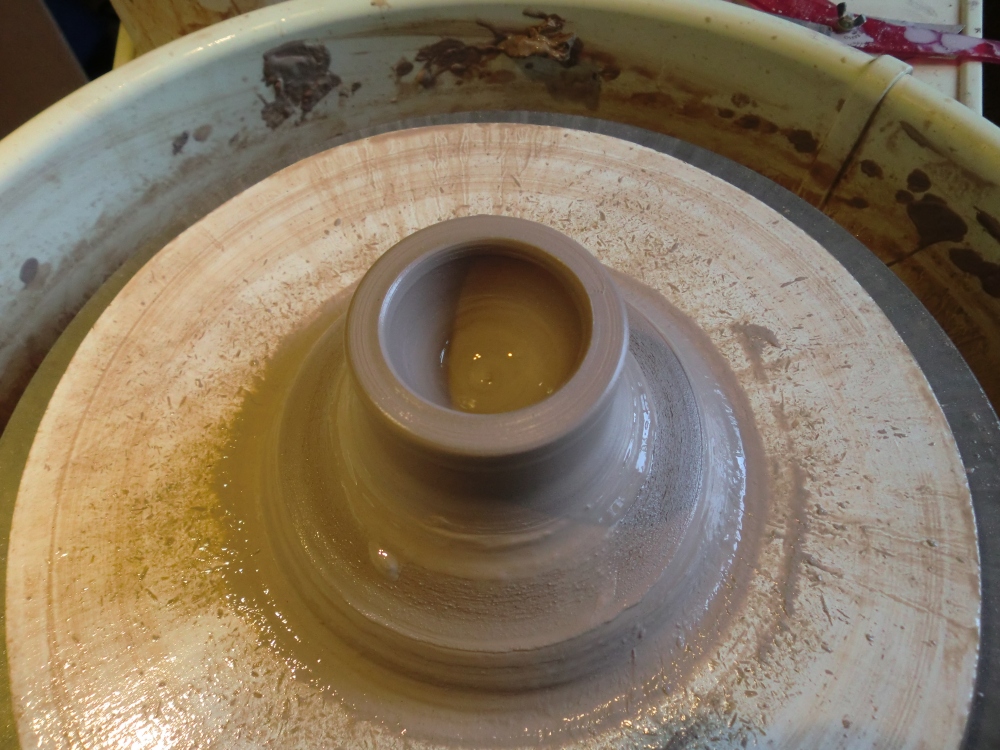
It doesn’t look like much now, but three pulls later…
…and it’s done…except for one important detail. The Squish!
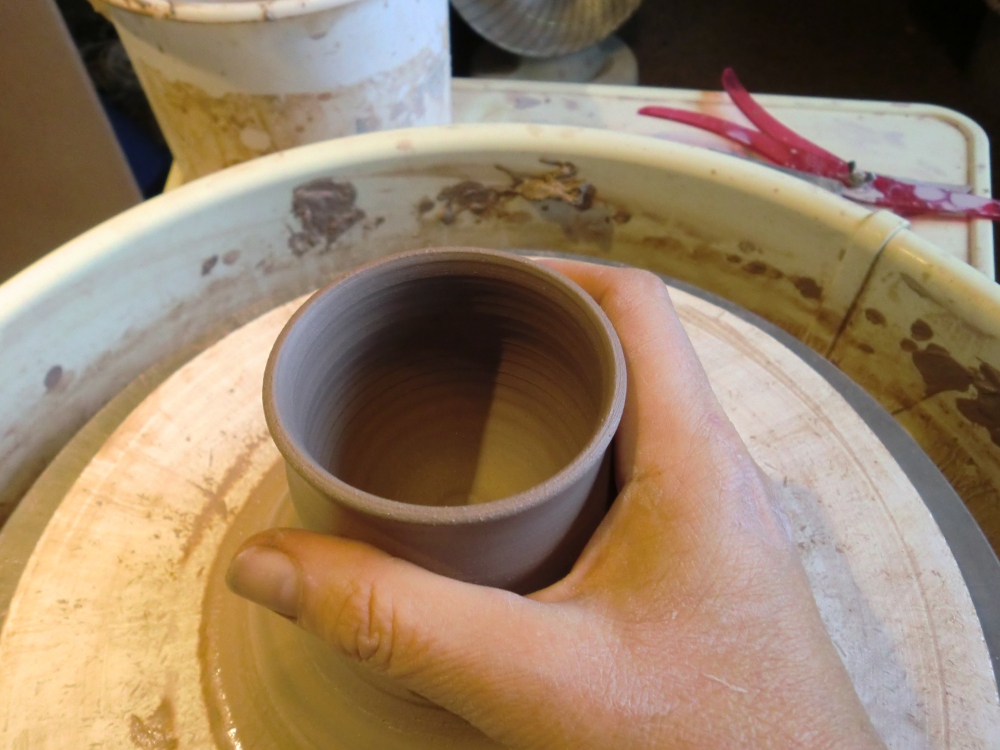
First you have to dry it just a bit. Then you have to grasp the pot.
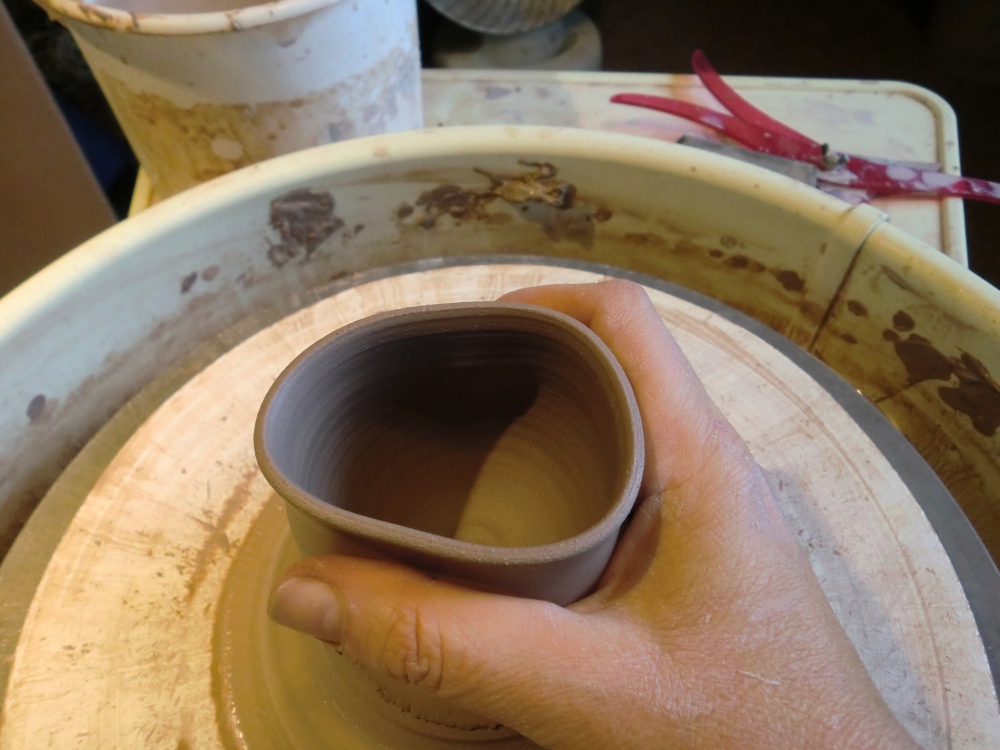
And very carefully, but with authority, SQUISH it!
The lovely thing about these squishy cups is that they fit really nicely into your hand, as you can imagine.
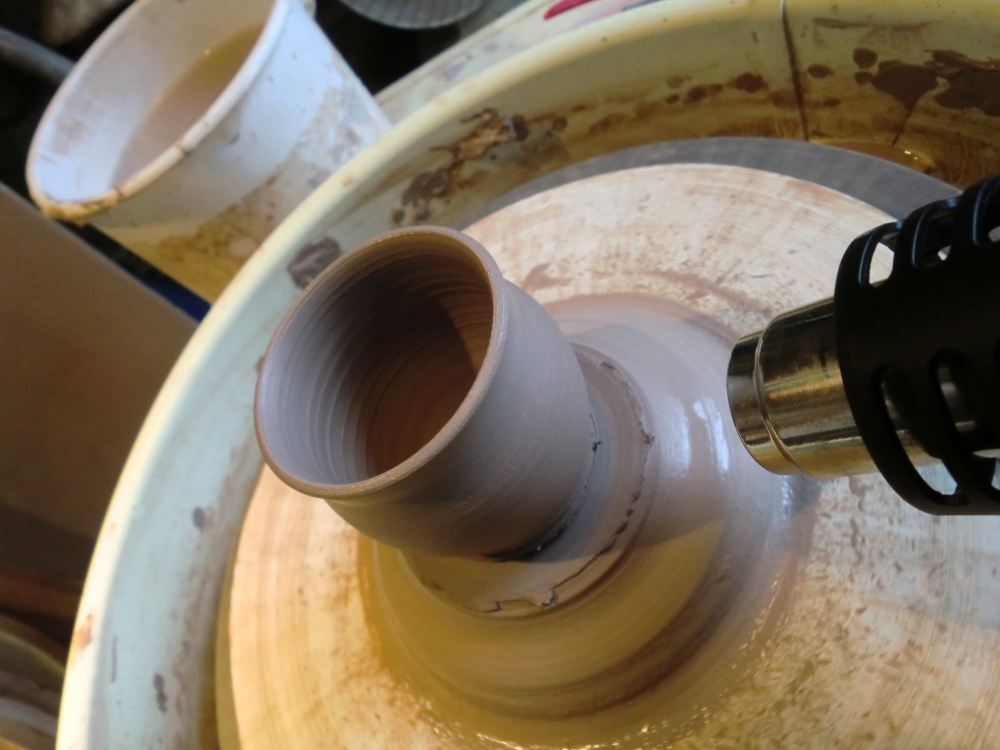
After drying the cup a bit more with the heat gun, I make a guide mark near the bottom of the cup and cut it away from the mound of clay, then make another squishy cup.
They all have slightly different shapes so you have to touch them, hold them, feel them… (Oooooh!) just to know which one is “right” for you.


So glad you put this link in your Spark blog. I loved reading it. Wonderful pictures. Good info, not that I could ever afford the price of heating a kiln, but I can always dream. Love and hugs to you, B
Thanks for the blog, LM, it was fun. Just bought a wheel and a low-fire kiln, so my daughter, daughter-in-law and I are all having fun. But our clay keeps cracking on us as we’re throwing. Is that because of the quality of the clay, or are we doing something wrong?
Hi Janet…the main reason clay cracks is because you’re using either too much or not enough water. While working on the wheel it’s hard to use too little water since it’s the only lubricant between you and the clay, so I’m going to guess that you are using too much water when throwing. When clay is repeatedly “watered” and then manipulated it gets weaker and weaker, so that is why one should think of your wheel as a production tool – don’t fuss over it, just make the pot and move on to the next one. Make small pots at first to get the hang of this, but I suggest trying to get your form up in three to 8 pulls. Any more than that and the clay needs to be dried up some before more manipulation. That’s why I use a heat gun (for paint stripping) sometimes too – to take moisture out of a piece that is just too wet for more manipulation. Sometimes I just take the bat off the wheel head and let the piece “set up” out in the open air. I hope this helps!
very cool! i just used some oven bake clay to make big thick custom grips for my crochet handles 🙂
Sweet! 😀
Why did you decide to go through that drying (with the dryer) stage? Why not cut, set aside, and move onto the next one while the others are drying, and then go on a squish fest later? More fun one at a time? I enjoy the simplicity of your blue bowls in your banner. And in Mayo…looks like a lovely place!
Well Travis, to answer your question they are too squishy to cut and move immediately, so I don’t dry them up much, but I like to dry the clay until it is moist and warm to the touch and then when I squish it, I leave the exact impression I intended to leave.
Thanks for the compliment on the Daisyware bowls and visiting my blog. 🙂
So that’s how it’s done!!! Very cool. I love process blogging, and now I love squishy cups! (want!)
Of course this is the Reader’s Digest condensed version…there are still several more steps before it reaches my wee gallery, like trimming the foot ring, bisque firing, sanding, washing, waxing, glazing and glaze firing. Thanks for the squishy cup love!!
Such lovely work! The p.o.v. of the camera is delightful; I feel like I’m right at your wheel! All I’m missing is the slip all over myself and the cool feel of the clay between my fingers. The squishy cup idea is great n__n Looking fwd to seeing these when I swing by the studio in November.
Thanks Sue! You can take the wheel out for a spin when you are here. 😀
Those are great. I have done that by accident and started over. Now I know to just keep going and make it a squishy.
I am glad a found your blog. I ran across it through a spark challenge.
Thanks for your support Rennata. You should check out some Japanese work and also a prior blog of mine describing “wabi sabi,” called “This is How I Roll.” I think you would really appreciate the wabi sabi!
How cute! I love them!
Y’know, one thing I’ve wanted for quite a while is one of those little tea sets with the four teeny cups, sometimes you see them marketed as Buddhist tea sets. Can you make those? Something to ponder ordering early next year after all the shock of moving money wears off….or even just the cups.
I can make almost anything. Just let me know what, how many, the colour and when you want them. Thanks for your support!!